Showing posts with label terrain board. Show all posts

Saturday, May 9, 2020

Making a Small Terrain Board Part 2


The glue is dry so now I can trim the edges, seems the board in not quite 24 inches by 24 inches. I will have to compensate for that as I make the other boards for this set.


I like to use a very fine sand for my projects. The sand that I use is a pool filtering sand, it come in a large bag weighing about 35 pounds, I keep in a cat litter bucket out in the garage with the lid I don't want the cats to get any ideas.


I start spreading the glue out and add the sand with a tablespoon generously to insure that I get plenty of sand into everywhere I want it, using the back of the spoon to push the sand into the corners and tapping the sand down as well. 


I let it dry for a bit of time so the glue is still tack enough to hold the sand.


Then I dump the sand back into the bucket, then turn it over and tap and bang the back to insure to knock off any additional loose sand.


I will let it dry for a day of so, then I will use a small brush to knock any additional loose sand away, before I start painting on this project.

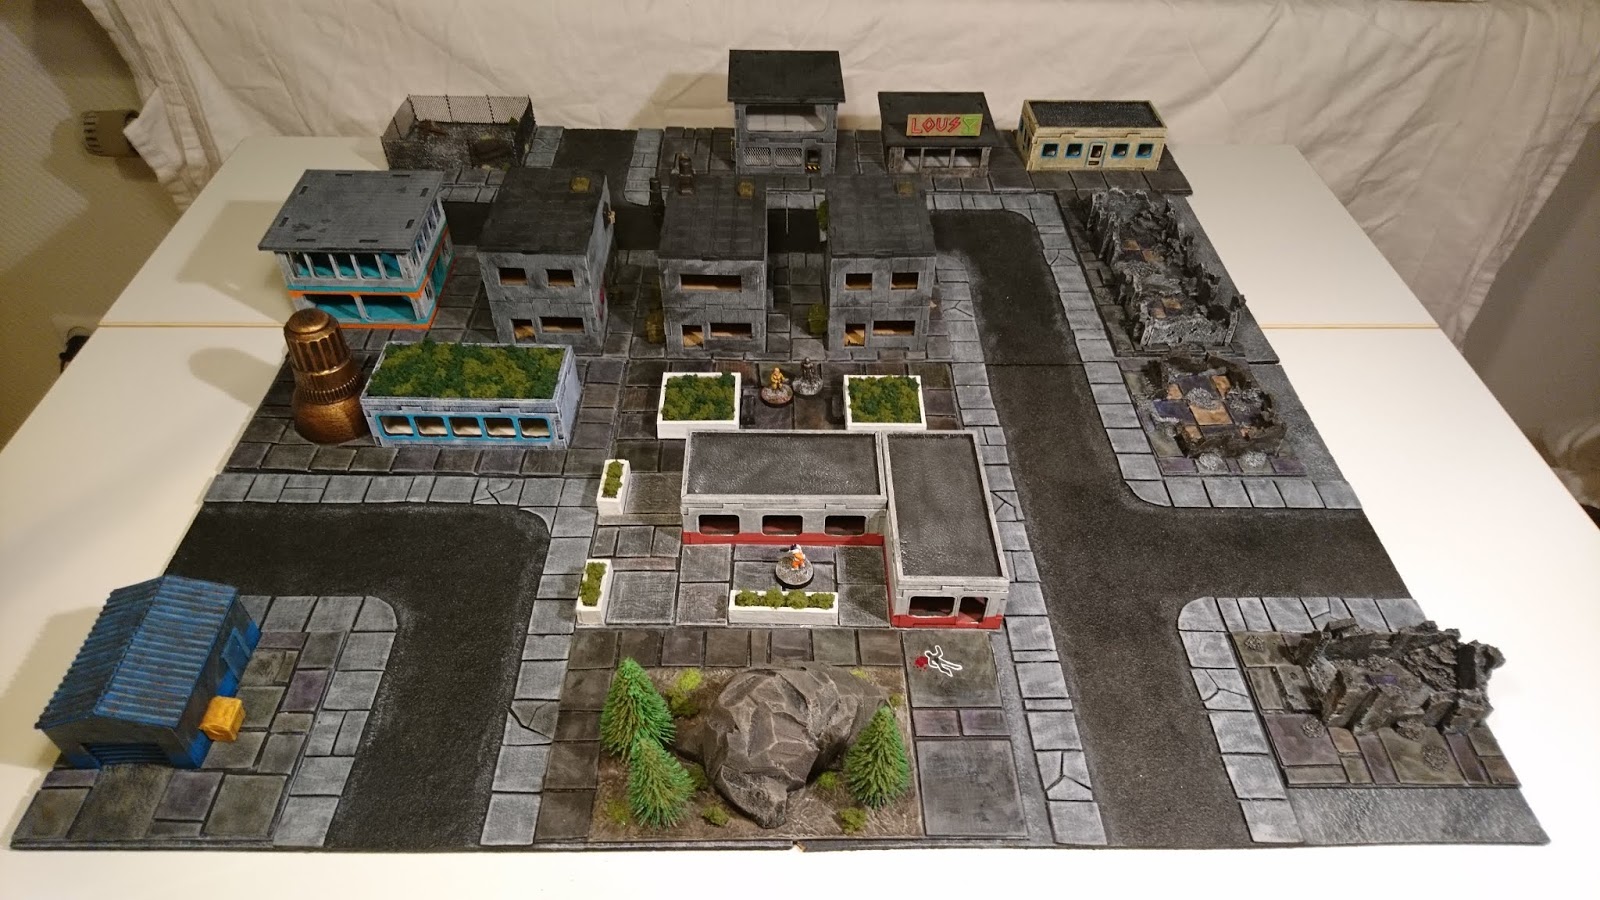
I want to make three different set of 8 boards, a desert set, green set for forest, jungles or just grass lands and then a city or urban set.

Now where did I leave that can of Black Primer??
 

Wednesday, May 6, 2020

Making a Small Terrain Board Part 1

Alright! I have had all this material around for make a small terrain board of 2 foot by 2 foot. Working on  the concept that I have been working and planning on https://silo1313.blogspot.com/2018/08/modular-city-boards-and-more.html .

I wanted something with some open terrain so that I can add terrain features that I have made https://silo1313.blogspot.com/2017/09/new-piece-added-to-my-terrain.html .

I had a 2 foot by 2 foot pink foam board actually a few of them but I'm going to work with this one for now I also had a pack of 4, 12 inch by 12 inch cork tile I have a few more of those around as well. I plan on making more boards later.

First I laid out the board to what I wanted it to look like, I wanted a small dried river bed with a little trickle of water rolling though it.

Once I had it all figured out I started to carve a little of the river bed out a little at a time till I had what I wanted, then I sand the bed some to give it a smoother surface.

Next I laid out the cork tile to get the shape that they well be then glued them down and pressed it all down with books and weights.

Here is the board as of now.


Here is a few pictures so far with some of my cardboard terrain.


Thanks for looking in, I have more to follow, so keep an Eye out for them. I'm working to have a 4 foot by 4 foot table of these. Ideally I would like to have a 4 foot by 8 foot table but for now this will work.

Friday, November 23, 2018

My Mean Streets

As posted earlier about a modular terrain board, I finally got around to making my first set of street tiles, so right now they only cover a 2x2 foot area but later on I will be adding to them to cover a 4x8 foot area as time goes on. the next set will have a couple of 4-way intersection and a couple of straight sections.

In the mean time I really like the idea that I can currently make up a few different layouts.


To help add more buildings to my terrain, I have decided to use Paper Mache boxes for this project and you can see here, I'm off to a nice start, later on I will be adding MDF buildings from a list of different suppliers.


This going to be a slow growing project, now that fall is over I am hoping to spend more time on this. 

Sunday, August 26, 2018

Modular City Boards and More!

I have been surfing the web and lots of google searches, when I found a great looking city or town board using 12 inch by 12 inch sections that most people refer to as tiles. I found tinysolitarysoldiers.blogspot.com/  where he used corkboard tiles and some thinner cork for other detail work for sidewalks and pavers.


Then I saw the very similar layout on leadadventureforum.com/ posted by Ockman and using the same technique as posted crediting by "Spacejacker" at Tiny Solitary Soldiers Blog and crediting him as to the layout.


I was very impress with this look and how it can be placed together making different city or town block layouts. Now for most part they made theirs for a 2 foot by 2 foot board using for most part four tiles a couple of 90 degree turns and a couple of three way intersection, I'm looking at doing a couple of each myself but I want to add a few straight sections and a couple of four way intersections.

I will start with the cork tile, later I will mount them on some 2 inch thick pink foam board to which will be mounted to hardboard or MDF board so it all will be elevated so I can do river sections for adding a bridge or two. I will want to add a port as well, so my survivors can escape by road or by boat.

So mulling over different designs ideas in my head, I went and cut out a lot of 4x4 inch thin cardboard squares, measuring  1/4 the scale of the actual tile, easier to waste a few pieces of cardboard then to ruin a bunch of cork.

Here is the basic set up for a 2 foot by 2 foot game as pictured above.


Now a 3 foot by 3 foot game.


A 4 foot by 4 foot game.


Using this same concept for river tiles plus a bridge


Using the river tiles to divide a city or town, where your characters need to get across the bridge for safety, or getting to a small boat that's waiting on the river. I can set up on one side of the river a ruined side all bombed out and burned, and the other side as just abandoned waiting to be searched to goods and supplies.


So with a multiple copies of 8 basic tile I can set you a endless ever changing terrain table.


I will be numbering them 1 thru 8 for the tiles and N, E, S and W to stage the direction the tile and for using with graph paper, so I can reset the table for places I want my characters to revisit.

I want to use this concept for Fantasy and Pirate games as well doing cobble stone streets!

Monday, April 24, 2017

Tiles for Gaming

Okay I have been doing a lot of brain storming to come up with a nice looking interior for sci-fi games and zombie games, my main problem with all my experiments is the walls, they are all just in the way. You can't have hallways narrow enough to look right and yet be able to get one's fat fingers in to move your figures around.

But if you go with what is known as 2.5 dungeon tiles which is for most part just out lining a room with a strip of cardboard or foam board, to better give you an idea or illusion of walls in the example shown below. Now and advantage to these are that you can pack a lot of them in and small box. The disadvantage is they are not stack able so you can't do multi story.

 Example from Crooked Staff blog.

One could do them as space tiles, for ship deck plans as well you, you just have to give them a more of a Sci-fi feel or look as it would be.

Now the next good idea is to use the 2 wall principle, basically you use a 6x6 inch tile and put two walls up in the outer edge and no two walls will go back to back of each other. The draw back is there no narrow corridors and non stack able. I guess one could make corridors of some sorts if they really feel the need for them maybe to connect to separate sections of a port together but again you have only one level to work with.

Example from Tiny Solitary Soldiers Blog.

So I was looking forward on doing something on the same lines as these for a working spaceport.

Until I found this!

Now this is the best idea that I have seen by far is at Warchest blog  http://warchest.co.uk/blog he came up with a great concept by just adding an extra "L" shape wall in the opposite corner make them stack able for multi story buildings, you can see more of his stuff here http://warchest.co.uk/blog/index.php/how-terrain-building-can-spiral-out-of-control/ . You can see just how wild you can go with this total concept.

So here you can see the basic set up


Here you can see the added corners I highlighted, you still have ease of movement with ones fat fingers like mine! You can also see the roof tops in the lower right of this photo.

Here you can see it all with the roofs on and they are stack able you can also see advertisement signs too. This is an awesome idea!


Here you can see what can be a busy down town street.


So this is the look that I'm going to shoot for, minus the printing I pretty sure My Wife will not understand the wasting of paper and ink for such a project. I am pretty much going have to paint mine all and all.

I have Foam core board, card stock and the paints I'm pretty sure I can come up with something really good. 

So I'm going to make two sets one for all my Zombie games homes and shops and one for all my Sci-Fi games mostly Spaceport stuff. I will post everything as fast as I can when I'm finished.


Thursday, January 30, 2014

Spring is Coming

Okay so Spring is coming and here's a source for something free, Polyvinyl styrene signs that if you know someone, or make a contact at Home Depot. You could score their used signs, similar as the one pictured below

The ones they use in the store are of cardboard but the ones that they use outdoors are a polyvinyl styrene of some kind you can scribe them and they will snap off at the scribe line. They have other similar signs that one might be able to get as well, when they reset a display some are thicker then others, may take you awhile to score those but hey you can get them for free.

So get to know someone in their Outdoors Lawn and Garden. I have stacks of their used ones as of now, and can't wait for Spring to get going with gluing and painting

Wednesday, January 15, 2014

Sci-Fi Beds, Tables or Roof Top Stuff

I came across some plastic furniture plugs the other day at my local junk store, when the thought hit me these little guys would be great for beds for Sci-fi terrain in just about any setting, the added benefit is you can get them in almost any size as well as most shapes rectangle, square, round and oval.


They can be 6mm buildings, or 15mm terrain stuff as well as 28mm stuff,
So here's the list of some ideas,


  • Beds.
  • Tables.
  • Roof Top Vents and decor.
  • Exam Tables.
  • Medical Beds for sick bay.


Turn them over and they can be,

  • Bath Tubs.
  • Planters
  • Aguaponic Pools
  • Vats
  • Fountains
And the list of ideas goes on.


Now run out there and make some cool stuff for your gaming table.